Setup
Accessing and operating the PLZ12005WH/PLZ20005WH from a Web browser (LAN)
Access method
You can configure the LAN interface settings from a Web browser.
You can access the Web browser in the following manners.
- Enter the URL consisting of the IP address of the PLZ12005WH/PLZ20005WH prefixed with http:// in the address bar of the browser.
- If you using a VISA library, click on the web link from the search results of the application supplied by the VISA vendor.
You can check the IP address on the Information screen (press SYSTEM and then Information).
Example: When the IP address is 169.254.7.8
http://169.254.7.8
The PLZ12005WH/PLZ20005WH has a function for searching the VXI-11 measurement instrument with the application supplied by the vendor (National Instruments NI-MAX, Agilent Connection Expert, Kikusui KI-VISA Instrument Explorer, or the like).
The following Web browsers are supported.
Internet Explorer
Mozilla Firefox
Google Chrome
Safari/Mobile Safari
Welcome page
This is the first page that is displayed when you access the Web browser.
There, you can display the measuring instrument information, network information, and VISA resources (I/O resources) information, and also check the connected PLZ12005WH/PLZ20005WH. Click the top menu to go to another page.
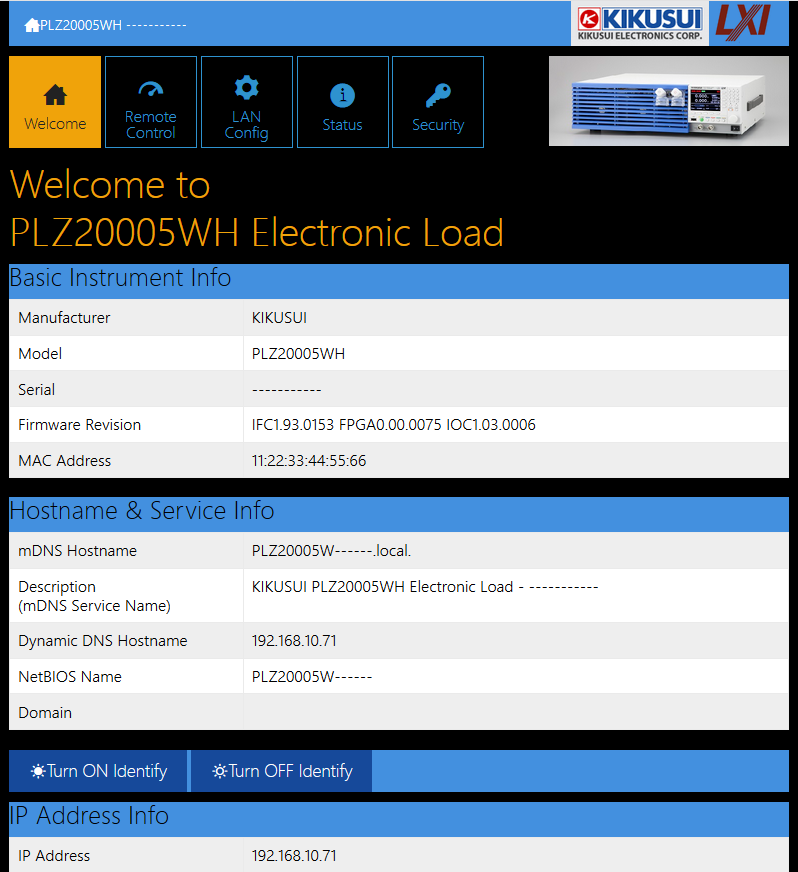
Buttons
Turn ON Identify button: “LXI Web Identify” is displayed on the display of the connected PLZ12005WH/PLZ20005WH.
Turn OFF Identify button: The displayed “LXI Web Identify” stops being displayed.
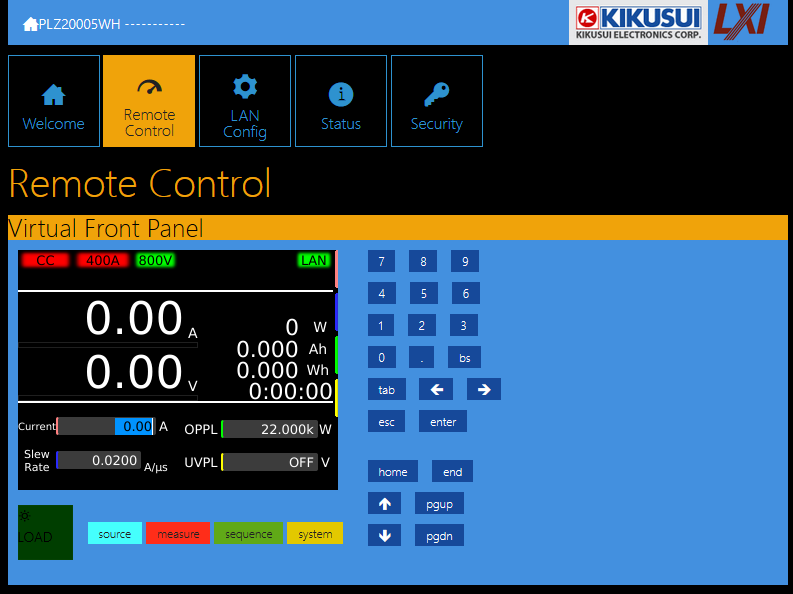
Remote Control page
You can remotely control the PLZ12005WH/PLZ20005WH from a browser. The various buttons have the same functions as those on the front panel of the PLZ12005WH/PLZ20005WH.
WARNING
Should network communication issues occur, the instrument settings shown in this Browser Web Control page may not represent the actual state of the instrument. This may result in unexpected hazardous voltages on the output that could result in personal injury, death or damage to a device under test. |
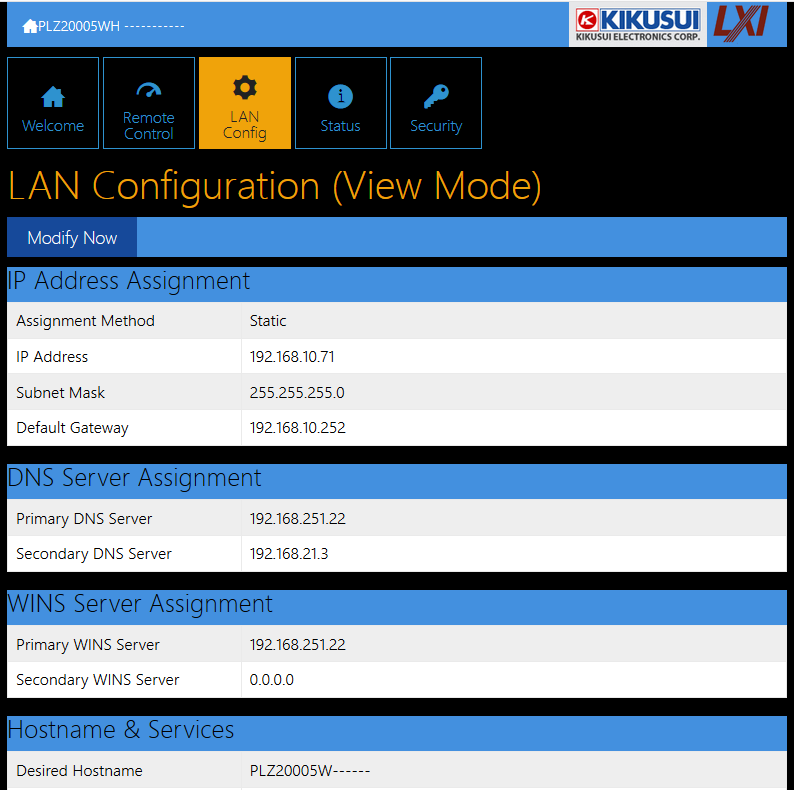
LAN Configuration page
You can display and change the network settings.
To change a setting, click “Modify Now”and enter the setting value.
Buttons
Modify Now: Goes to the network setting item editing screen. The following 4 buttons are displayed.
Undo: Returns the edited contents to the state before editing.
Apply: Applies the edited contents.
Reset: Resets the network settings.
Default: Returns the network settings to the factory default settings.
IP Address Assignment
You can set the IP address You can choose between automatic assignment and assignment of a fixed address.
In the case of automatic assignment of IP address, we recommend using the DHCP server function using a router as far as possible.
If the DHCP server function is not used, it takes about 60 seconds until determination that address assignment with DHCP has failed. Then, an address between 169.254.0.0 to 169.254.255.255 is assigned by link local address (Auto-IP).
DNS Server Assignment
Sets the address of the DNS server.
WINS Server Assignment
Sets the address of the WINS server.
Hostname & Services
You can set the host name and so on. If you set the host name, you can use it in place of the IP address to access the LAN interface. Normally, we recommend that you select “Enable Dynamic DNS”, “Enable mDNS”, and “NetBIOS Over TCP/IP”.
If you leave the Hostname and Description boxes empty and click “Apply,” the host name will be created from the model name and serial number.
Auto Clock Adjustment
You can set auto clock adjustment. Enter the NTP server address to be used for clock adjustment and select the “Enable Auto Adjustment” check box to enable auto clock adjustment when the PLZ12005WH/PLZ20005WH is turned on.
To use auto clock adjustment, the PLZ12005WH/PLZ20005WH must be connected to the Internet when it is turned on.
If a link local address was set for the IP address, auto clock adjustment does not function.
Reset and factory default settings
Pressing Reset and Default changes the network settings change as follows.
The items with an X mark are returned to their default values.
| Reset | Default | Item | Default value |
|---|---|---|---|
| X | X | IP Address Assignment | Automatic |
| X | X | DNS Server Assignment | 0.0.0.0 |
| X | X | WINS Server Assignment | 0.0.0.0 |
| X | Desired Hostname | <Model name> - <Last 5 digits of serial number> | |
| X | Desired Description | KIKUSUI <Model name> Electronic Load - <Serial number> | |
| X | X | Enable Dynamic DNS | Yes |
| X | X | Enable mDNS | Yes |
| X | X | Enable NetBIOS Over TCP/IP | Yes |
| X | NTP Server Hostname | ntp.nict.jp | |
| X | Auto Clock Adjustment | Yes |
System Status page
Displays the system information and license information.
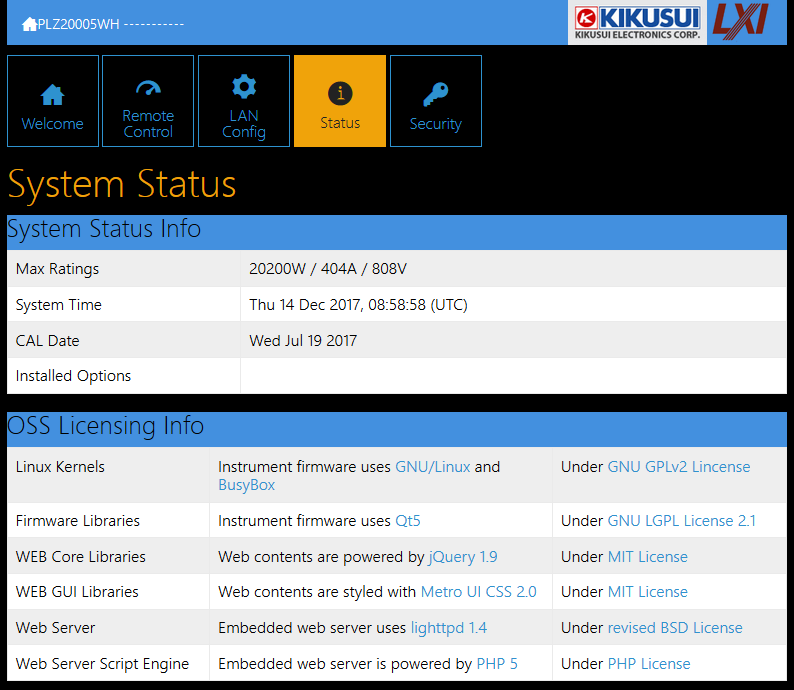
System Status Info
Displays the system information.
OSS Licensing Info
Displays the license information of the open-source software.
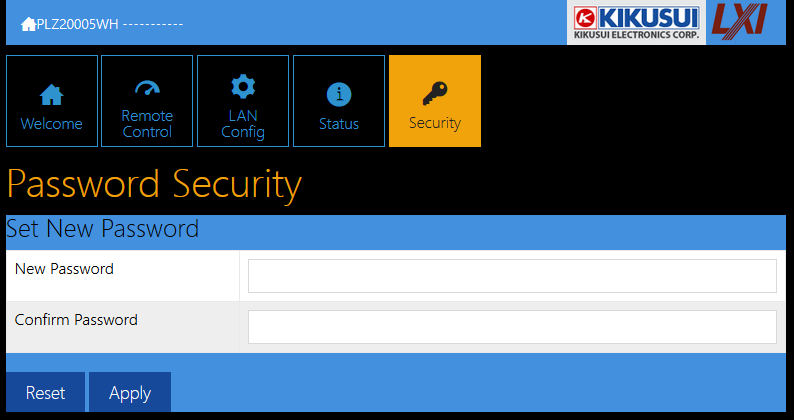
Password Security page
You can set and change the password for the Web browser interface here.
When a password has been set, that password is required in order to use the following functions.
- Remote control from Remote Control page
- Editing of LAN Configuration page
- Changing/deleting the password
Set New Password
Enter the password.
You can use alphanumeric characters, hyphens, and underscores for the password. 15 characters maximum.
Changing/deleting the password
After the password has been set, the screen for changing the password appears when you enter the password.
To change the password, enter the present password in “Current Password”, enter the new password in “New Password”and “Confirm Password”, and then click “Apply”.
To disable password protection, enter the present password in “Current Password”, leave “New Password”and “Confirm Password” blank, and click “Apply”.